
Seven Gmail and Google Account settings that help stop phishing
A fake invoice or login page only needs one click. Seven Gmail and Google Account settings that cut the risk, with Google’s own steps for each.
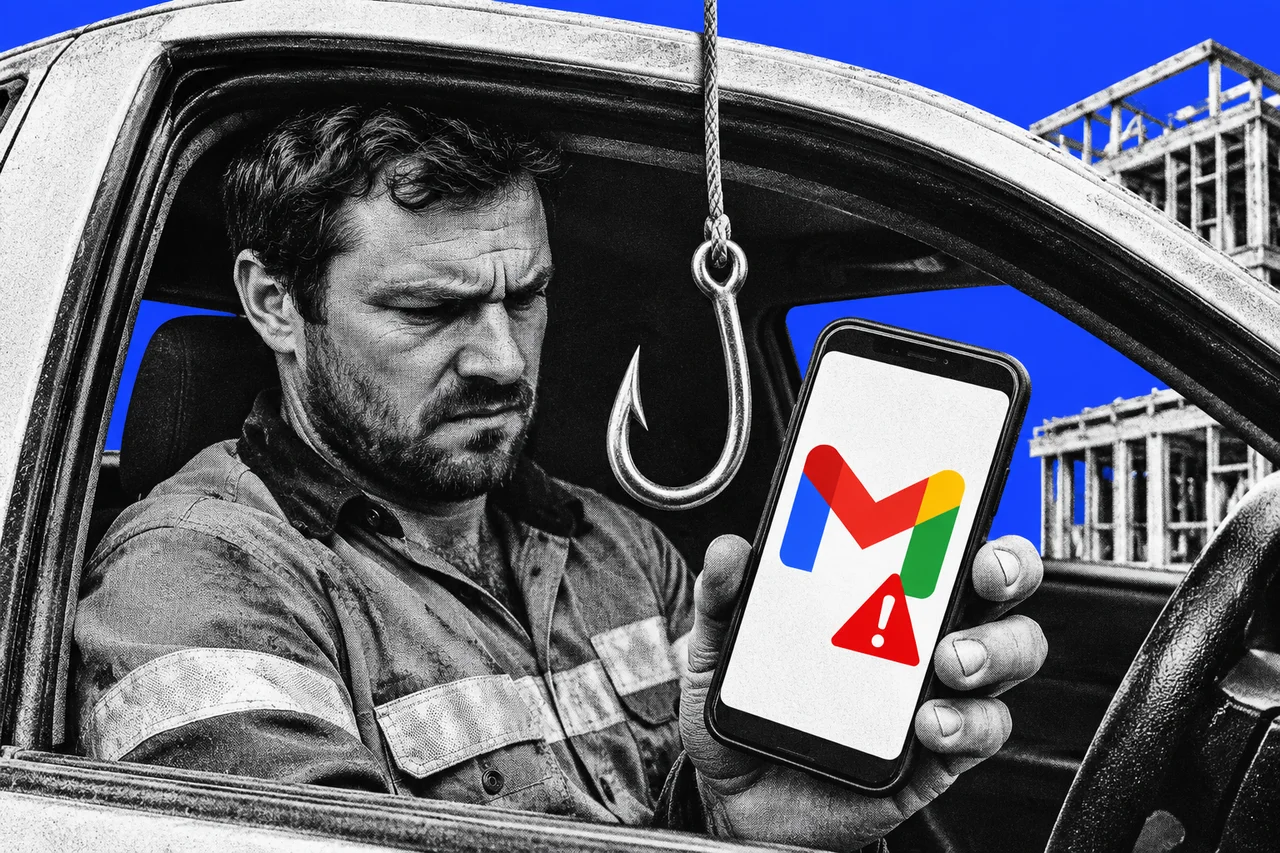
A phishing email only needs you to click once. A fake invoice, a “your account is locked” warning or a parcel notice sends you to a fake page. It looks like Google’s and asks for your password.
Gmail already filters a lot of this. A few settings make the rest easier to spot, and harder to turn into a stolen account. All seven here come from Google’s own help pages. Most take a minute. The first two and the last are on your Google Account rather than inside Gmail.
1. 2-Step Verification, ideally with a passkey
If a phishing page does get your password, this is what stops the thief at the door.
On a computer, go to myaccount.google.com, open Security & sign-in, and under How you sign in to Google choose Turn on 2-Step Verification. Follow the steps.
Pick the second step carefully. Google recommends its own Google prompts, and says passkeys and hardware security keys protect against phishing. Codes sent by text or call can be vulnerable to phone-number-based hacks.
A passkey also means you skip the second step when you sign in with it. We explain how they work in passkeys explained for small businesses.
Work or school accounts are managed by an administrator, so these steps might not work there. Ask whoever runs your Google Workspace.
2. Enhanced Safe Browsing for your Google Account
This gives faster, proactive protection against dangerous websites, downloads and extensions. Google says it improves your security in both Chrome and Gmail while you’re signed in.
Go to myaccount.google.com > Security & sign-in and scroll to Enhanced Safe Browsing for your Account. Select Manage Enhanced Safe Browsing and turn it on.
The trade-off is data. It sends Google the web addresses you visit, information about downloads and extensions, and a small sample of pages. It also switches on Enhanced Safe Browsing in Chrome when you’re signed in there, or syncing without a custom passphrase.
3. Ask before showing images
Senders may be able to tell whether you opened an email that contains an image. For a scammer, that confirms your address is live.
On a computer, click the gear, then See all settings. In the Images section, choose Ask before displaying external images and click Save Changes at the bottom. Images then appear only when you click Display images below in a message.
In the Gmail app on Android, tap Menu > Settings, choose your account, then under Data usage tap Images and choose Ask before showing. Android shows images automatically unless you change this.
Even with images on, Gmail says it asks first if it thinks a sender or message is suspicious.
4. Check who really sent it
Phishing emails often borrow a real name and a fake address. Gmail shows whether a message passed its authentication checks.
On a computer, open the email and click the small down arrow below the sender’s name. A genuine message from a business usually shows Mailed by and Signed by with its own domain. On Android, open the email, tap View details, then View security details.
A question mark next to the sender’s name means Gmail couldn’t authenticate the message. Be careful about replying or downloading anything. That isn’t proof of a scam, because some mailing lists fail these checks. Our explainer on SPF, DKIM and DMARC covers what sits behind those labels.
Google’s own rule of thumb helps here too. It never asks for your password in an email, message or phone call.
5. Report phishing, don’t just delete it
Reporting sends Google a copy it can use to help protect other users.
On a computer, open the message, click More (the three dots next to Reply) and choose Report phishing. Got it wrong? Use the same menu and choose Report not phishing. In the Android app, the option in the three-dot menu is Report spam.
6. Block senders who keep trying
If the same address keeps sending you rubbish, block it. Open the message, click or tap More and choose Block followed by the sender’s name. This works on a computer and in the Android and iPhone apps.
Future emails from that sender go straight to Spam. To undo it on a computer, go to Settings > See all settings > Filters and Blocked Addresses.
7. Keep your recovery phone and email current
If someone does get in, these are how Google warns you and how you get your account back. Google says a recovery phone can also help block others from using your account.
Go to myaccount.google.com > Security & sign-in. Under How you sign in to Google, check Recovery phone and Recovery email, and edit either if it’s out of date.
While you’re there, run Security Checkup at myaccount.google.com/security-checkup. It lists personalised fixes, including removing app access you no longer need.
If you run Google Workspace for your team
Admins get a stronger set of controls. In the Admin console, go to Apps > Google Workspace > Gmail > Safety. You’ll need the Gmail Settings administrator privilege.
The page covers risky attachments, links to untrusted domains, look-alike domains and emails pretending to come from your own staff or domain. For each section you can show a warning banner, send the message to spam or quarantine it. Ticking Apply future recommended settings automatically turns on new protections as Google adds them.
People at high risk of targeted attacks, such as campaign staff and IT teams, can also join Google’s free Advanced Protection Program. It requires a passkey or security key to sign in and limits which outside apps can reach Gmail and Drive. On a work account, it’s only available if your admin allows it.